How to backup important data to the cloud almost for free.
Well, by saying ‘almost for free’, I mean for 0,13 EUR for 30 GB per month. Do you want to learn more? Let’s go step-by-step.
Imagine you work for a small company and there are 10 virtual servers. This is not a mistake, I really mean virtual servers. You have already figured out that your critical applications cannot run on users’ laptops and production data are not safe on your SOHO NAS. You have already discovered the magic of VEEAM Backup & Replication. That gave you perfect opportunity to backup all your workloads. You backed up a few virtual machines, 1 physical server and boss’s XPS. Your old storage (NAS) served as a VEEAM backup repository, but you are still thinking how to safe your data against a disaster (e.g. earthquake or fire). You read several blog posts, news, vendor’s sites and you discovered AWS service – S3 Glacier. This service impressed you so much, that you decided to try it.
What is AWS S3 Glacier?
“Amazon S3 Glacier and S3 Glacier Deep Archive are a secure, durable, and extremely low-cost Amazon S3 cloud storage classes for data archiving and long-term backup. They are designed to deliver 99.999999999% durability, and provide comprehensive security and compliance capabilities that can help meet even the most stringent regulatory requirements. Customers can store data for as little as $1 per terabyte per month, a significant savings compared to on-premises solutions. To keep costs low yet suitable for varying retrieval needs, Amazon S3 Glacier provides three options for access to archives, from a few minutes to several hours, and S3 Glacier Deep Archive provides two access options ranging from 12 to 48 hours.“
Are you interested? Let’s continue than:
AWS Account
- First of all, we need to log in to AWS with an AWS account. If we do not have any account, we can create one.
- If we do not have any experience with AWS, I recommend to read the documentation site. Now we can start with “Set Up an AWS Account and an Administrator User”.
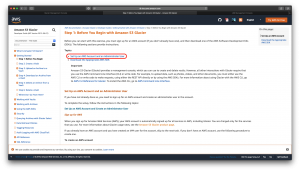
- After we log in with AWS account, we will access the IAM Management Console. There we can start to set up an Administrator account.
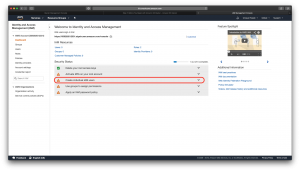
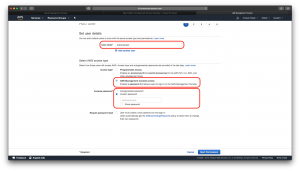
- In the first window, we need to type the User name, Access type and console password.
- In the second window, we need to set a permission. In this case, we create a group.
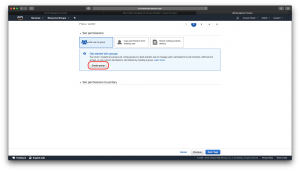
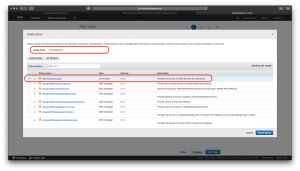
- We name the group ‘Administrators’ and attach the ‘AdministratorAccess’ policies to this group.
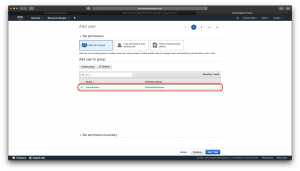
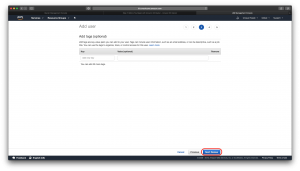
- We select created group and go to the third window by clicking on ‘Next: Tags’ button.
- There we can add additional attributes like e-mail or position.
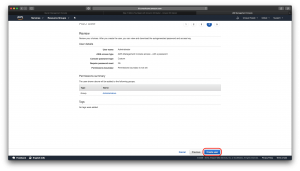
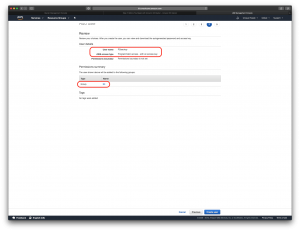
- Now we can review our selection and create a new user by clicking on ‘Create user’ button.
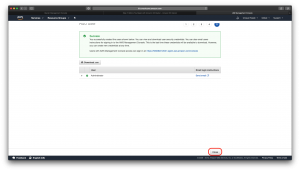
- If creation of user is completed successfully, we can close the window by clicking on ‘Close’ button.
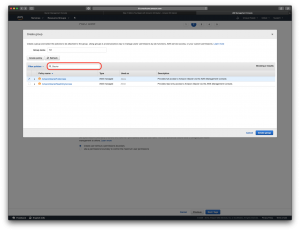
- Now we need to create the user with permission for access the AWS S3 Glacier service. We need to repeat the steps 4, 5 and 6, but in step 4 we need to select Access type: ‘Programmatic access’ and in step 6 we need to attach the ‘AmazonGlacierFullAccess’ policy.
- In this case we can also add additional attributes and in the next step review our selection.
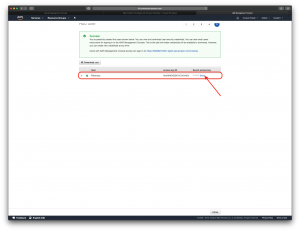
- The same as in step 10, there is an information that the creation was successful, but in this case it is important to note the Access Key ID and the Secret access key. This information is important to us in next steps.
New AWS S3 Glacier Vault
After the creation is successful and all new accounts exist, we could start creation of AWS S3 Glacier Vault.
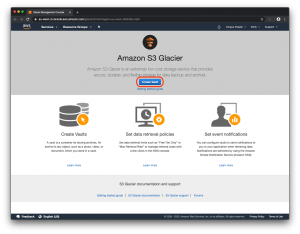
- We need to click on Create Vault button on following link.
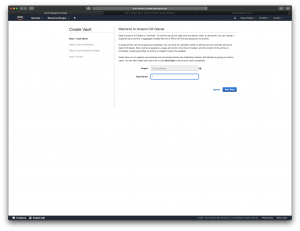
- We type the name of our new Vault.
- We choose the notification option.
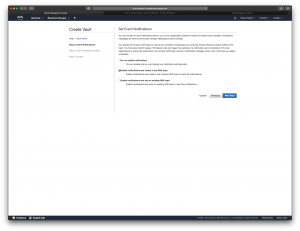
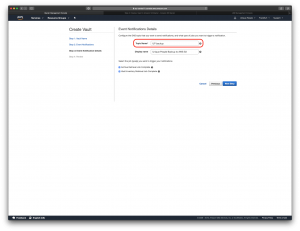
- We type the necessary information. Please, be careful, that the name of topic must not include any spaces. As it could be seen on screen shot, I made a mistake.
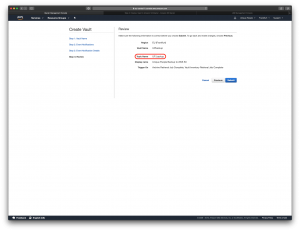
- We review the selection and submit by clicking on Submit button.
- By clicking on our new vault, we displayed all necessary information.
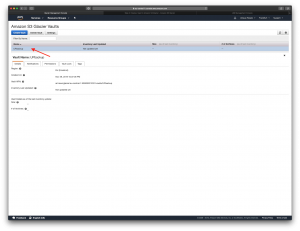
- To view Retrieval policies, we need to click on Settings.
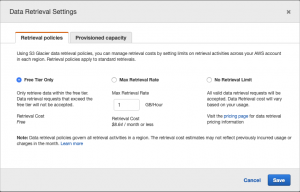
Well done. Vault is prepared. Now it is time to upload the data.
VEEAM, AWS and Powershell
When you use powershell to administrate your environment, everything is easier. In our case we use powershell to run the full backup of one VM. After the backup of the VM is done, we upload the files to the AWS S3 Glacier.
First of all, we need to install the VeeamPSSnapin pssnapin and AWSPowershell module. VeeamPSSnapin is installed on Veeam backup server.
AWS part:
AWSPowershell we could install for example:
Install-Module -Name AWSPowerShell
After AWSPowershell module is installed, we should save the credentials created for access, to the AWS S3 Glacier (Step 11 in 1st part of this blog post):
Set-AWSCredential -AccessKey <your_access_key> -SecretKey <your_secret_key> -StoreAs <some_profile_name>
If we want to list all AWS profiles saved on the computer, we use this:
Get-AWSCredential -ListProfileDetail
Now we can get Vaults in our S3 Glacier service:
Get-GLCVaultList -Region <your_aws_region> -ProfileName <your_profile_name> #my aws region is eu-central-1
VEEAM part:
For identification of VM, which we want to backup, we use:
Find-VBRViEntity
If the VM that we want to backup an upload to the S3 Glacier is identified, we could use following script:
Import-Module AWSPowershell
Add-PSSnapin VeeamPSSnapin
Connect-VBRServer -Server localhost
$vm = Find-VBRViEntity -Name <vm_name>"
$S3BackupDirPath = "<directory>"
$S3BackupDir = Get-ChildItem -Path $S3BackupDirPath -ErrorAction SilentlyContinue
if ($S3BackupDir.Exists -ne $true)
{
       New-Item -ItemType Directory -Path $S3BackupDirPath
}
Start-VBRZip -Folder $S3BackupDirPath -Entity $vm -Compression 5

Write-GLCArchive -VaultName <your_vault_name> -FolderPath "E:\S3backup" -Recurse -ProfileName <your_profile_name> -Region <your_aws_region> | Export-Csv -Path "C:\Backup\UPbackupS3Glacier.csv" -Append
IMPORTANT: “C:\Backup\UPbackupS3Glacier.csv” file is important for restoring in the future. Save them!
Useful links
VEEAM
https://www.veeam.com/virtual-machine-backup-solution-free.html
https://helpcenter.veeam.com/docs/backup/powershell/getting_started.html?ver=100
AWS
https://docs.aws.amazon.com/amazonglacier/latest/dev/amazon-glacier-getting-started.html


